
I’ve wanted a better rig for some time. My Yeasu FT-920 has served me well for a number of years, but during the 2013 CQWW CW contest, the point was driven home to me that I really needed a better radio. Something that could really stand up to harsh contest conditions. After a lot of thought and research, I decided on a K3.
I already own a KX-3 that was purchased two years prior. What a great radio! Elecraft has a great reputation and I knew that I could not go wrong. Just look at what many of the contest stations and DX-peditions are using and you will see K3’s. For me it was an easy decision.
There probably are better rigs (Icom 7800 / 7700, Yeasu FT-9000, perhaps one of the SDR’s) but the cost over gain just didn’t make sense to me. Also my budget would not support anything that expensive even on the used market, so this just made the most sense.
So the week before Christmas, I placed my order. On December 26th, my K3 arrived. Since I was on vacation for the Christmas Holiday, I had plenty of time to build the rig and start up the learning curve.
I decided to build my K3 rather than buy it pre-assembled. I knew that if I built it, I would have a better idea of how to install options in the future. Also it gave me enough money to purchase 2 extra filters that I would not have been able to afford.
The build was fairly straight forward, however it took all of 10 hours to complete. I spent quite a bit of time just sorting out screws, washers, nuts, standoffs, etc. If you choose to build your own K3, make sure you read the assembly manual through at least once before you open any of the boxes.

The rig arrives!

Inside the big box were 5 smaller boxes that contained all of the boards, case parts and hardware that would become my K3.

The build begins. The rig is constructed around the main board. You begin by installed standoffs and filters. The rest of the rig will grow up around this.

Starting to take shape.

The back of the rig. You can see the I/O, antenna connector and power connection.

More boards installed.

The front panel. All of the knobs had to be installed along with the encoders for VFO A & B.

You can see the filters just to the left of the center strut. The K3 has space for up to 5 filters.
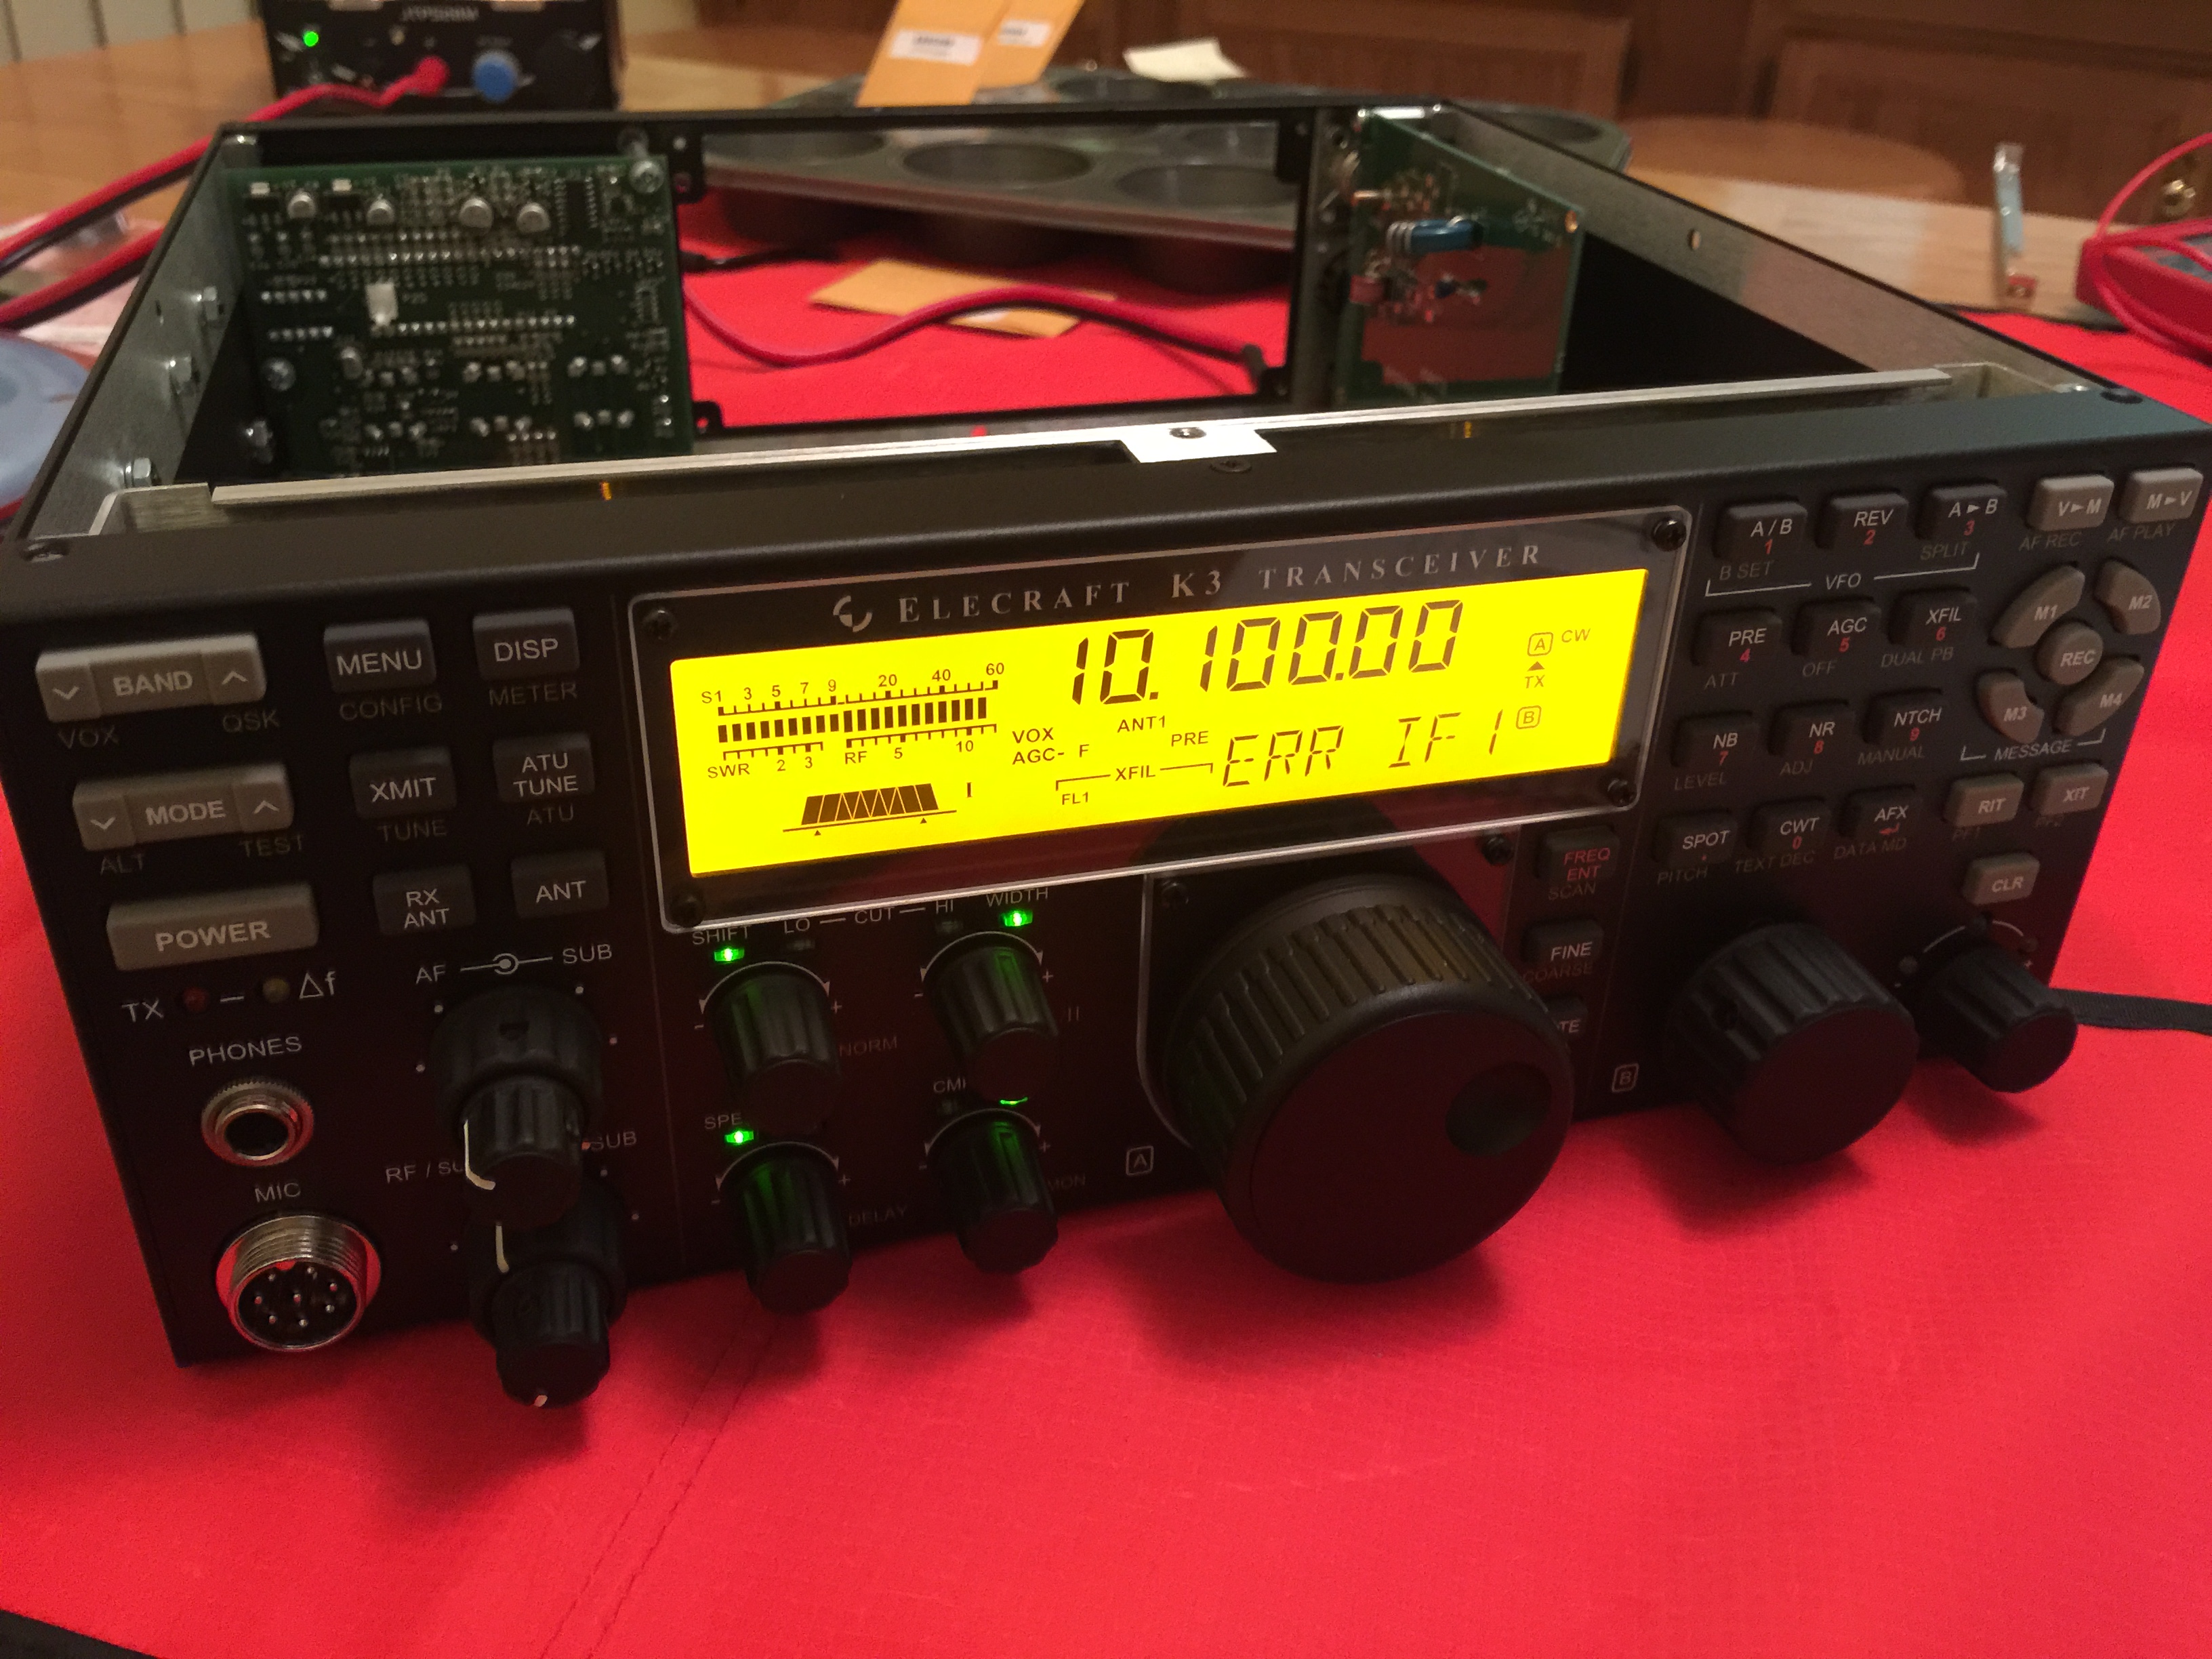
The first smoke test. It’s Alive!

After final assembly and initial checks, the rig made it to the bench. By this time it was 10:00 PM and I had spent the entire day working on this. I did take the time to spin the dial and made sure that everything was working as it should. The fun stared the next day…

when I tore my sack apart. After all, a new rig has to be “integrated” into the shack. So after about 4 hours of rewiring and moving things around, the rig it up and running.
But then…… I sold the old Yeasu FT-920 much sooner then I thought I would. Which meant I had plenty of $$$ to purchase a P3!

The P3 arrives and there is yet another kit to build.

I goofed when I ordered the K3 and didn’t order the KXVA-3. This is needed to interface P3 to the K3. It also provides a way to add an RX antenna and pre-amps.

So after a few hours of assembly (1 1/2 hours for the P3 and the remainder to install the KXVA-3), I added the P3 to the bench.

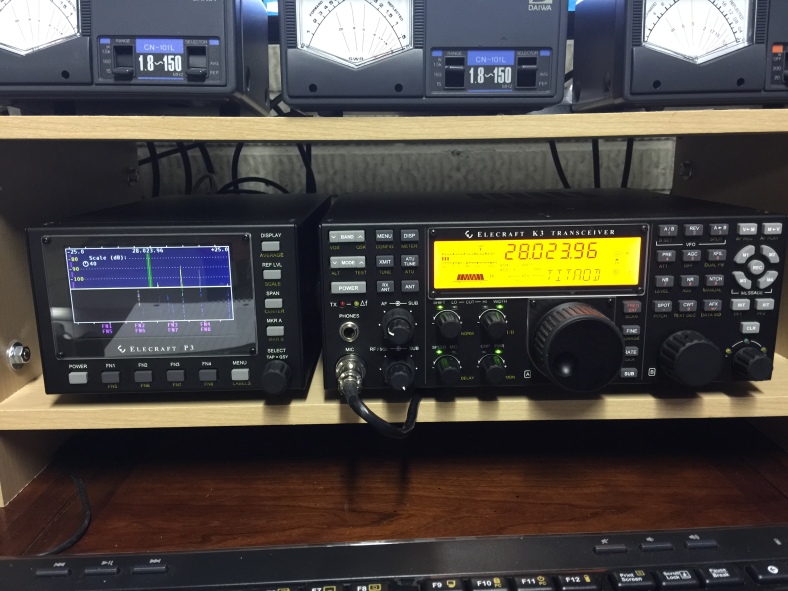
And here is the completed shack.
